
Step-by-Step Wood Fence Installation Guide: Wood Fence Installation Tips
- TF Home and Fence

- Mar 2
- 4 min read
Installing a wood fence can dramatically improve your property's privacy, security, and curb appeal. Whether you want to keep pets safe, define your yard, or add a decorative touch, a well-built wood fence is a great investment. This guide will walk you through the entire process, from planning to finishing, with practical tips to ensure your fence stands strong and looks great for years to come.
Planning Your Wood Fence Installation: Wood Fence Installation Tips
Before you start digging post holes or nailing boards, proper planning is essential. This step saves time, money, and frustration later on.
Check Local Regulations: Contact your city or county building department to learn about fence height limits, setback requirements, and permit needs.
Locate Property Lines: Use a property survey or hire a professional to mark your boundaries accurately. Avoid disputes with neighbors by confirming where your fence will go.
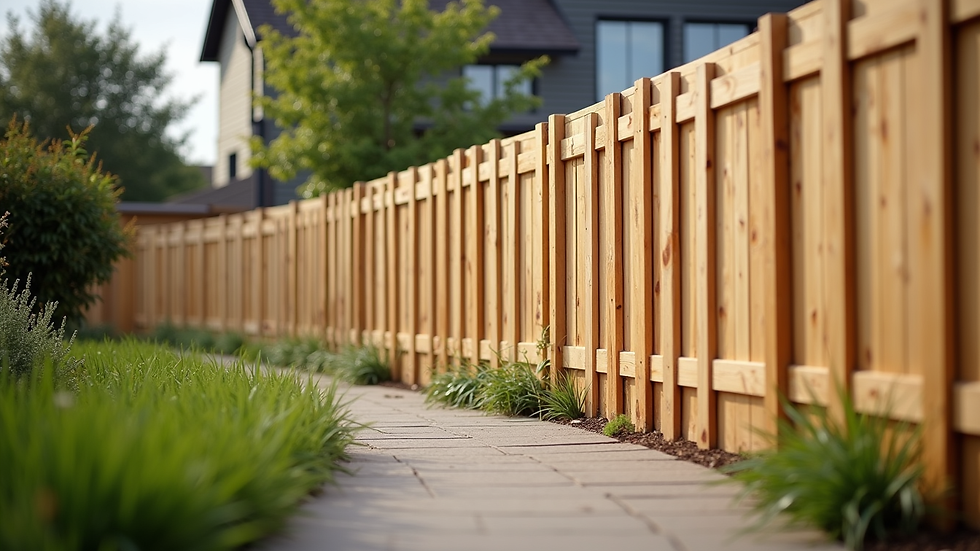
Choose Fence Style and Materials: Decide on the type of wood (cedar, pine, redwood) and style (privacy, picket, split rail) that fits your needs and budget.
Measure the Area: Use a tape measure or wheel to determine the total length of the fence line. This helps calculate how many posts, panels, and materials you will need.
Gather Tools and Materials: Common tools include a post hole digger, level, hammer or nail gun, saw, measuring tape, string line, and protective gear.
Taking the time to plan carefully will make the installation process smoother and more efficient.

Preparing the Site and Setting Posts
Once you have a plan, the next step is preparing the site and setting the fence posts, which are the backbone of your fence.
Clear the Fence Line: Remove rocks, roots, and debris. Trim back any bushes or branches that might interfere.
Mark Post Locations: Use stakes and string to outline the fence line. Mark where each post will go, typically 6 to 8 feet apart depending on your fence design.
Dig Post Holes: Use a post hole digger or auger to dig holes about 2 feet deep and 8 to 12 inches wide. Depth depends on local frost lines and fence height.
Set Posts: Place posts in holes, ensuring they are plumb (vertically straight). Use a level to check. Pour concrete around the posts for stability, and slope the concrete away from the post to prevent water pooling.
Allow Concrete to Cure: Let the concrete set for at least 24 to 48 hours before attaching fence panels or rails.
Properly set posts ensure your fence will be sturdy and long-lasting.
Installing Rails and Fence Boards
With posts securely in place, you can now attach the horizontal rails and vertical fence boards.
Attach Rails: Use 2x4 or 2x6 lumber for rails. Typically, two or three rails are used depending on fence height. Secure rails to posts with galvanized screws or nails.
Install Fence Boards: Starting at one end, attach fence boards to the rails. Use a level to keep boards straight and maintain consistent spacing if desired.
Use Spacers: For privacy fences, boards are often installed tightly together. For picket fences, use spacers to create even gaps.
Check Alignment Frequently: Step back regularly to ensure the fence looks even and straight.
Cut Boards to Fit: Trim the tops of boards for a uniform height or decorative pattern.
This step transforms the skeleton of your fence into a finished structure.

Finishing Touches and Maintenance Tips
After the fence is built, finishing and maintenance will protect your investment and keep it looking great.
Sand Rough Edges: Smooth any splinters or rough spots on boards to prevent injuries and improve appearance.
Apply Wood Preservative or Stain: Protect your fence from weather damage, insects, and rot by applying a high-quality wood preservative or stain. Choose a product suitable for outdoor use.
Install Gates: If your fence includes gates, install hinges and latches securely. Check that gates swing freely and latch properly.
Regular Maintenance: Inspect your fence annually for loose boards, damaged posts, or signs of rot. Clean the fence with mild detergent and water to remove dirt and mildew.
Reapply Stain or Sealant: Every 2-3 years, reapply stain or sealant to maintain protection and color.
Proper finishing and upkeep will extend the life of your wood fence and keep it looking fresh.
When to Consider Professional Help
While many homeowners can install a wood fence themselves, some situations call for professional expertise.
Uneven or Rocky Terrain: Difficult ground conditions may require specialized equipment.
Large or Complex Fence Layouts: Extensive fencing projects with gates, curves, or multiple sections can be challenging.
Time Constraints: Professionals can complete the job faster and with fewer mistakes.
Permitting and Regulations: Experts can help navigate local codes and obtain necessary permits.
If you are searching for reliable wood fence installation near me, hiring a professional can ensure a high-quality, hassle-free installation.
By following these step-by-step wood fence installation tips, you can create a beautiful and durable fence that enhances your property. Careful planning, precise installation, and regular maintenance are key to success. Whether you choose to DIY or hire a pro, your new wood fence will provide privacy, security, and charm for years to come.


Comments